
Oil Filter Replacement: A Step-by-Step Guide
Master the art of oil filter replacement with this comprehensive guide for vehicle owners.
Replacing your oil filter is one of the most important maintenance tasks you can perform on your vehicle. This step-by-step guide will walk you through the process.
Tools You'll Need
New oil filter (check your owner's manual for the correct specifications)
Oil filter wrench
Drain pan
New engine oil
Funnel
Clean rags or paper towels
Step-by-Step Instructions
Step 1: Prepare Your Vehicle
Park on a level surface and allow the engine to cool for at least 15 minutes. Engage the parking brake and place wheel chocks if needed.
Step 2: Locate the Oil Filter
Refer to your owner's manual to find the exact location of the oil filter. It's typically on the side or bottom of the engine.
Step 3: Drain the Old Oil
Place the drain pan under the oil drain plug. Remove the plug and allow all the oil to drain completely.
Step 4: Remove the Old Filter
Use the oil filter wrench to loosen the old filter. Remove it carefully to avoid spilling oil.
Step 5: Install the New Filter
Apply a thin coat of new oil to the gasket on the new filter. Screw the new filter on hand-tight, then give it an additional 3/4 turn.
Step 6: Refill with New Oil
Replace the drain plug and pour in the recommended amount of new oil using the funnel.
Step 7: Check for Leaks
Start the engine and let it run for a few minutes. Check around the filter and drain plug for any leaks.
Related Insights

Understanding Automotive Filter Maintenance
Learn the essential practices for maintaining your vehicle's filters to ensure optimal performance and longevity.
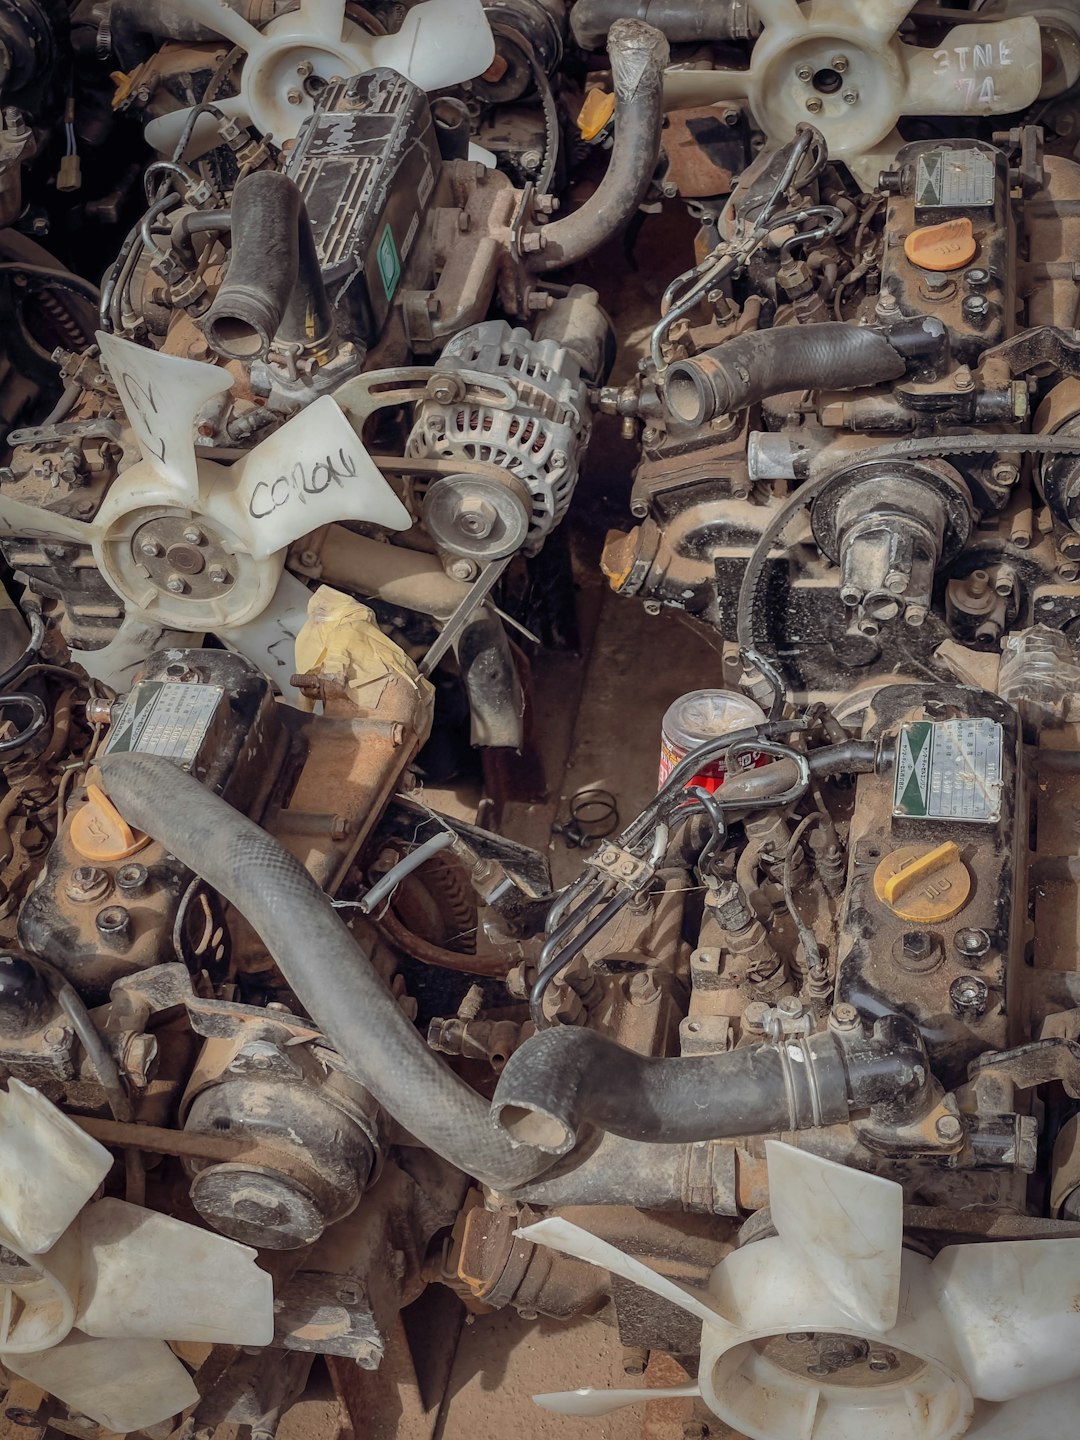
The Ultimate Guide to Engine Parts
Explore the critical components that keep your engine running efficiently and how to maintain them.
Industrial Filtration Systems Explained
Discover how industrial filtration systems work and their importance in manufacturing environments.